
Last updated November 15, 2026
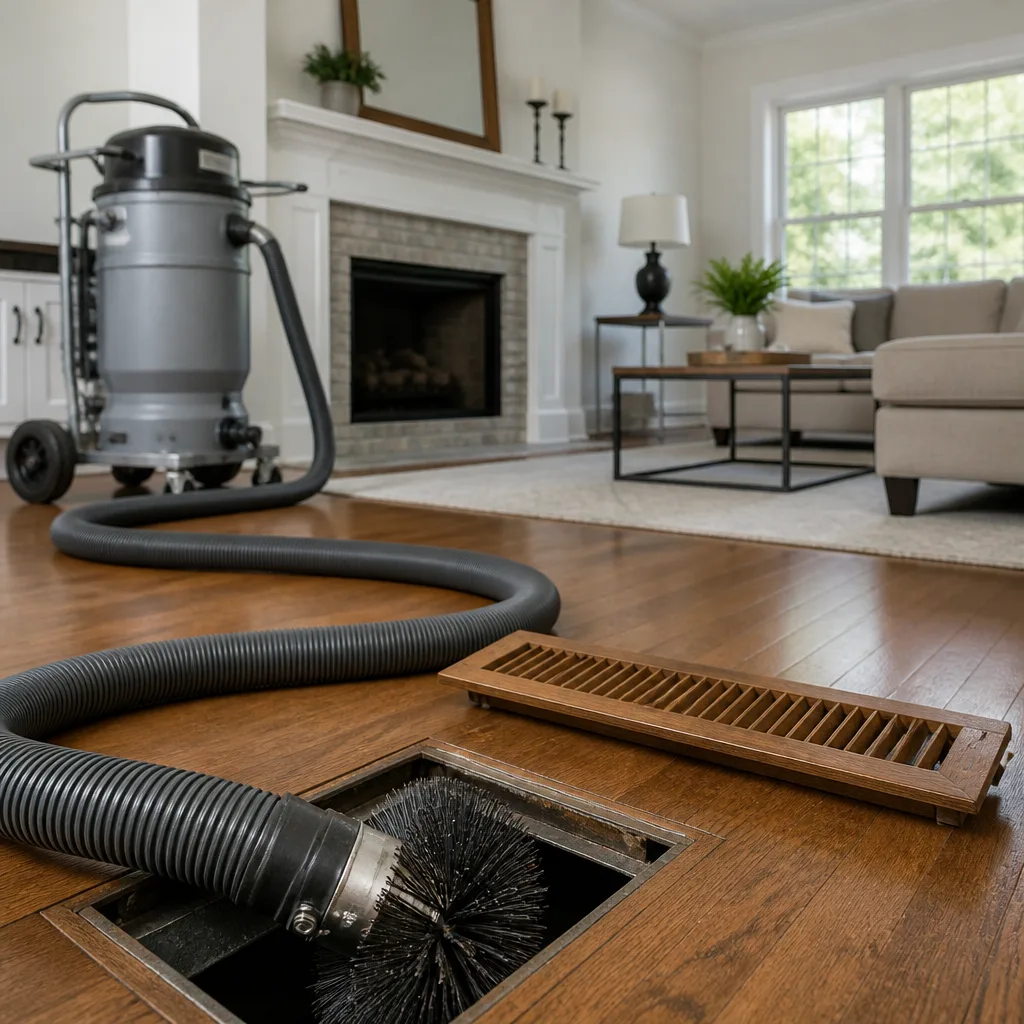 Whole-home duct cleaning
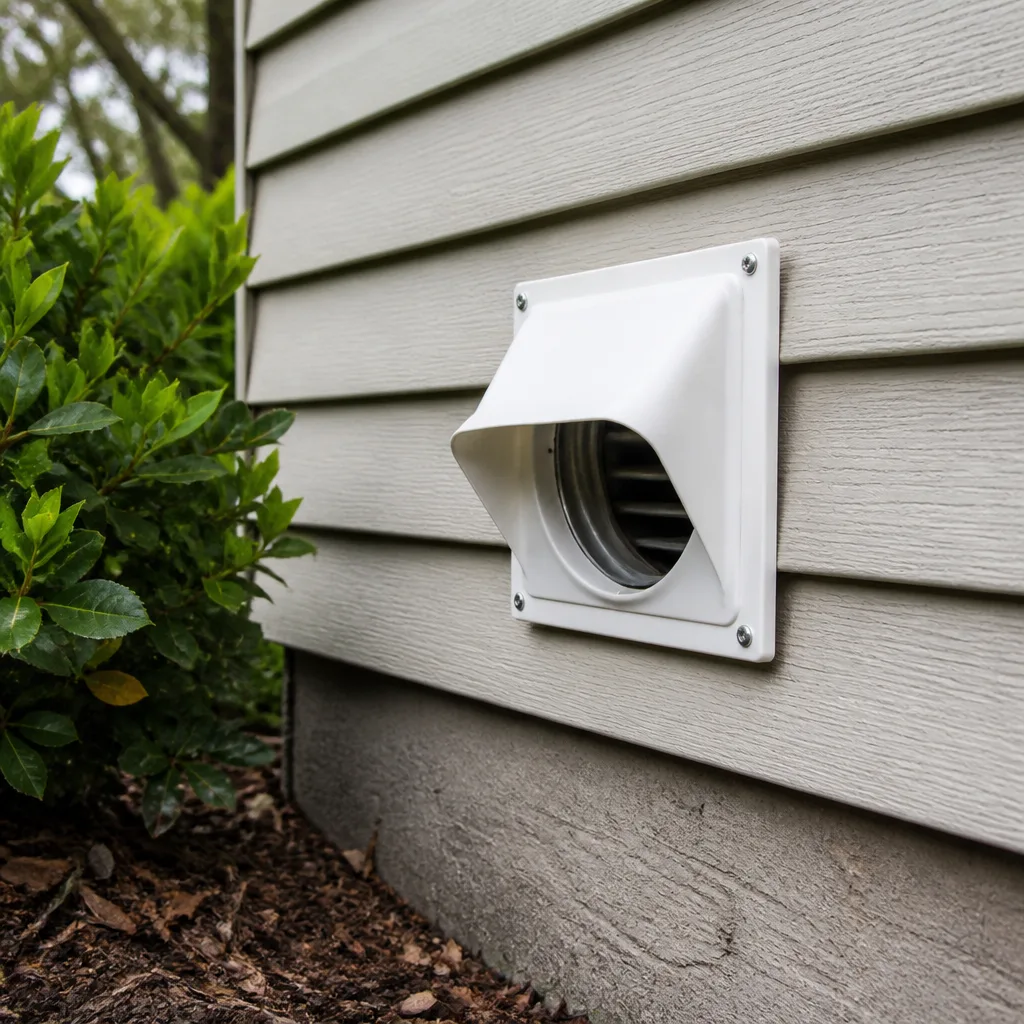 Dryer vent cleaning
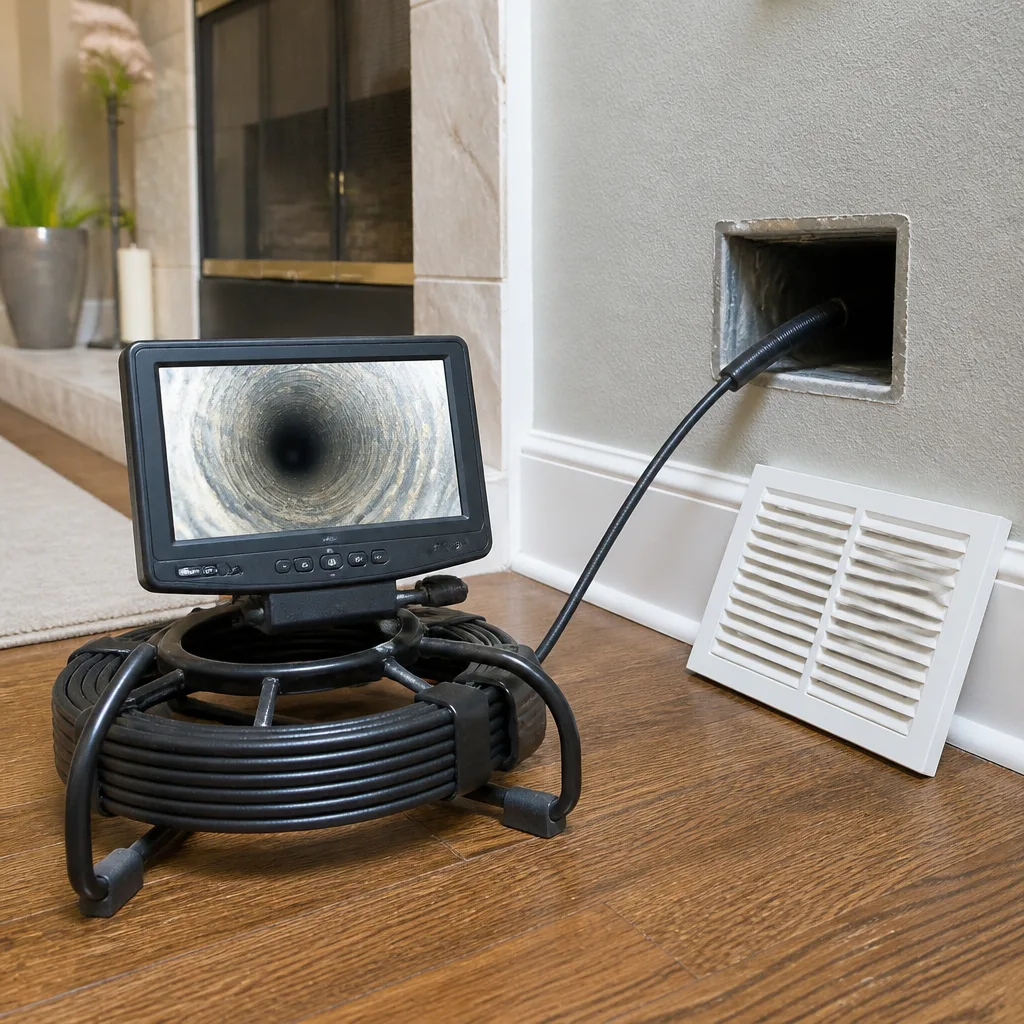 Camera inspection
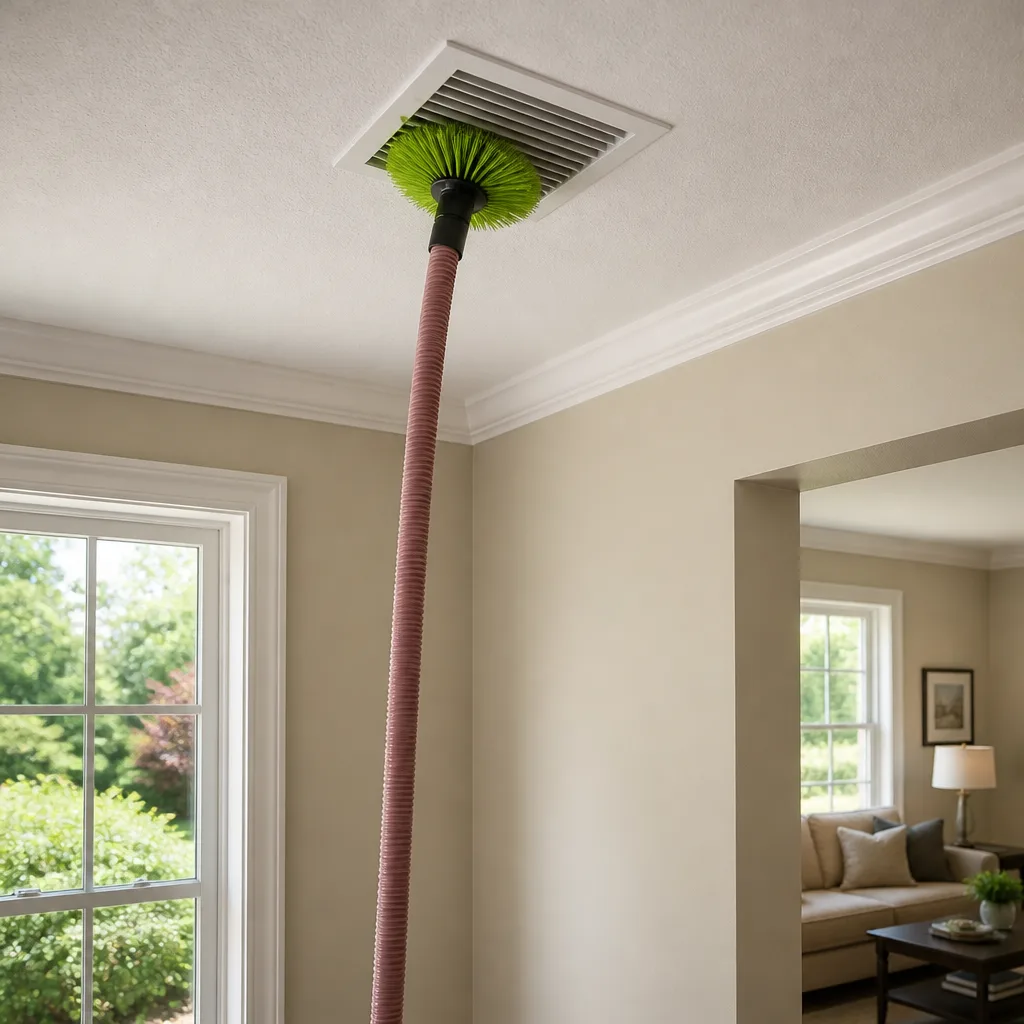 Sanitizing & deodorizing
Whole-system duct and dryer vent check with before-and-after photos - you see exactly what came out of your vents
That "$99 whole-house special" is a bait ad - the real number appears once they are in your hallway, or the "clean" is a shop-vac at the register. We photograph the inside of your ducts before and after instead.
Air Duct Cleaning Troubleshooting in Lexington: Common Problems and How to Fix Them
If your home still smells dusty two weeks after a duct cleaning, the cleaning wasn’t the problem – and doing it again won’t solve it either. That’s the hardest thing to hear after you’ve paid for a service, and it’s the thing we hear most often. A musty odor that returns, dust settling on vents within days, a bedroom that never gets enough air: those aren’t signs that cleaning doesn’t work. They’re diagnostic signals pointing at a specific mechanical failure upstream of the vents. This guide walks through each symptom the way a technician would in Lexington – trace it to the root cause, decide what you can check yourself, and know exactly when to call someone. By the end you’ll be able to tell a dirty-coil problem from a duct-breach problem from a filter problem, and you’ll know which ones are a Saturday afternoon fix versus one that needs the system opened up.
Styles & brands we work with
- Whole-home duct cleaning
- Dryer vent cleaning
- Camera inspection
- Sanitizing & deodorizing
Quick Answer
Most post-cleaning duct problems in Lexington come down to four mechanical causes: a dirty evaporator coil that recontaminates the air, a breach or disconnection somewhere in the duct run, an undersized or wrong-MERV filter choking airflow, or moisture intrusion from Lexington’s clay-heavy soil and crawlspace construction feeding microbial growth back into the system. Cleaning removes what’s in the ducts; it doesn’t fix any of those. The fix is diagnosis first, then the specific repair: coil cleaning, duct sealing, filter correction, or moisture control.
Table of Contents
- Symptom-to-Cause Map: What Your Home Is Telling You
- Why Does the Musty Smell Come Back After Cleaning?
- Why Does Dust Reappear on the Vents So Quickly?
- Why Is Airflow Weak in Some Rooms and Strong in Others?
- What Negative-Pressure Testing Reveals – and What the Repair Looks Like
- How Lexington’s Soil and Crawlspaces Cause Moisture Problems That Look Like Cleaning Failures
- Filter and Register Mistakes Homeowners Can Fix Themselves
- When It’s a Cleaning Problem and When It’s a Repair Problem
- Common Mistakes to Avoid
- When to Call a Professional
- Frequently Asked Questions
- The Bottom Line
Symptom-to-Cause Map: What Your Home Is Telling You
Before you call anyone, match the symptom to the likely cause. In our experience across Lexington, almost every complaint after a cleaning lands in one of five buckets. The symptom tells you which bucket you’re in – and the bucket tells you whether you can fix it or need a technician.
Decision Tree: Symptom → Likely Cause → DIY Check → When to Call
- Symptom: Musty or “dirty sock” odor returns within days to weeks of cleaning. Likely cause: microbial growth on the evaporator coil, in the drain pan, or on wet insulation inside the air handler – not in the ducts themselves. DIY check: look at the coil through the access panel if it’s safe to reach, and check whether the condensate drain is clear. Call a pro: when the coil is fouled or the drain pan holds standing water.
- Symptom: Dust settles back on the supply registers within a week. Likely cause: a duct breach on the return side pulling attic or crawlspace air into the system, or a filter that’s not seated. DIY check: verify the filter fits its slot with no gaps and the arrow points toward the air handler. Call a pro: when the filter fits correctly and the dust still returns.
- Symptom: One or two rooms never get enough airflow. Likely cause: a disconnected or collapsed flex duct branch, a crushed trunk line, or a register that’s too small for the room. DIY check: confirm the register damper is open and furniture isn’t blocking the return. Call a pro: when the damper’s open and the room is still starved.
- Symptom: The whole house feels under-ventilated. Likely cause: an undersized filter, an over-restrictive MERV rating, or a blower struggling against dirty coils. DIY check: note the filter’s MERV number and compare it to what the system was designed for. Call a pro: if the system worked better with a lower-MERV filter and you can’t find the right balance.
- Symptom: Chemical or earthy smell from a bedroom, closet, or laundry area. Likely cause: moisture intrusion from the crawlspace or a duct run passing through a damp area. DIY check: look for condensation on duct insulation or a musty smell at the crawlspace access. Call a pro: if a duct passes through a wet crawlspace.
That decision tree is the whole guide in miniature. The rest of this piece goes deep on each branch. If you want the broader service picture, our air duct cleaning page covers the process from the top; this article is about what happens when the process exposes something that cleaning alone can’t fix.
Why Does the Musty Smell Come Back After Cleaning?
A musty smell that returns after cleaning almost always comes from the evaporator coil, the drain pan, or wet insulation in the air handler – not from the ducts. Cleaning removes the debris in the ductwork, but if the coil is fouled with biofilm or the drain pan is holding standing water, the system recontaminates every time the blower runs. The ducts are the chimney; the air handler is the fire.
How to Tell Where the Odor Originates
- Odor strongest at the supply registers on startup: points to the coil or air handler, because that air just passed over the coil.
- Odor strongest in one room: points to that specific duct run – often a run through a crawlspace, attic, or wall cavity with moisture.
- Odor strongest near the return grille or when the fan first kicks on: points to a dirty filter, a dust-loaded return plenum, or debris sitting on the blower wheel.
- Odor that comes and goes with weather: points to moisture intrusion, not biological growth in the ducts themselves.
What the fix looks like: the coil and drain pan get cleaned, the condensate drain gets checked and cleared, and any wet insulation inside the air handler is replaced. That last step matters. Duct cleaning by itself can’t fix wet insulation, because the contamination source is downstream of the ductwork. This is one of the reasons we operate Abatement Technologies containment equipment on-site: when the job uncovers coil or pan contamination, the containment setup keeps that material from migrating into the living space while the work is happening.
Once the coil and pan are clean and the drain is flowing, the smell usually stops returning. If it does return a second time after the coil has been cleaned, the next thing to check is whether the system is oversized for the house – an oversized unit short-cycles, never runs long enough to dry the coil, and grows biofilm on a schedule. That’s a load calculation conversation, not a cleaning one.
Why Does Dust Reappear on the Vents So Quickly?
Dust settling back on the supply registers within days or weeks of a cleaning usually means the system is pulling unfiltered air from an attic, crawlspace, or wall cavity through a duct breach. The ducts themselves were clean when the technician left. Then the blower turned on and started pulling in new dust from wherever the system leaks. Cleaning is a one-time extraction; a leak is a permanent feeder.
Where Duct Breaches Hide
In Lexington homes, the breaches we find cluster in a handful of predictable places:
- Flex duct connections at the trunk: the collar or takeoff where a flex duct meets the main trunk gets bumped during attic work, settles over time, or was never properly taped and mastic-sealed.
- Improperly sealed plenums: the box where the air handler connects to the supply and return trunk is a common leak point, especially on older installs where the sealant has dried and cracked.
- Crushed or kinked flex runs: a run that was stepped on during attic work or bent tighter than its minimum radius restricts flow and often develops a tear at the kink.
- Wall cavity returns: some older Lexington homes use stud bays as return chases. Those cavities aren’t sealed to the same standard as metal duct, so they leak into the wall and draw in whatever’s in there.
- Register boots not sealed to drywall: the gap between the metal boot and the drywall behind the register grille lets attic or wall air around the finished edge.
Before assuming a breach, eliminate the cheap causes. A filter that’s not seated in its channel, a filter slot with a gap at one end, or a return grille that’s been blocked by furniture or a rug will all produce dust that looks like a duct problem. Check those first. If the filter seats cleanly and the dust still returns within a couple of weeks, a breach is the likely cause and it needs to be found before another cleaning is scheduled.
Why Is Airflow Weak in Some Rooms and Strong in Others?
Uneven airflow after a cleaning almost always traces to a disconnected or collapsed flex duct branch, a crushed trunk line, or a room whose register is undersized for its heat load. Cleaning the ducts improves the airflow you already had; it doesn’t create airflow that was never there. If a bedroom was cold before the cleaning and it’s still cold after, the duct feeding it is the problem.
How a Technician Traces Weak Airflow
- Measure at the register. A handheld airflow meter or a calibrated hood reads the actual cubic feet per minute at the grille, which tells you whether the room is starved at the source or the register is just poorly aimed.
- Check the damper. A balancing damper in the branch that was closed for a previous owner’s comfort is a common find in Lexington homes that have changed hands.
- Follow the run. The technician traces the flex or metal run back to the trunk, looking for disconnection at the collar, a kink tighter than the duct’s minimum bend radius, or a run that was crushed under stored boxes in the attic.
- Check the trunk and plenum. A collapsed or undersized main trunk limits every branch downstream of it, so the fix is at the trunk, not at the room.
- Verify the register size. If the run is clean and unobstructed but the room was always starved, the register may be undersized. That’s a design correction, not a repair.
Air Duct Repair is where a lot of these cases end up, and it’s why we offer it alongside cleaning. A collapsed flex run or a disconnected takeoff isn’t a cleaning problem, and no amount of suction fixes it. A technician who can find the breach and repair it under one visit is the difference between a system that works after the appointment and one that gets called back. That single-company accountability is what we aim for in Lexington – one call covers the cleaning, the repair, and the filtration recommendation if the job turns one up.
What Negative-Pressure Testing Reveals – and What the Repair Looks Like
Negative-pressure testing during a cleaning job reveals duct leakage that cleaning alone can’t fix, because it measures how much air the system loses rather than how clean the ducts are. The technician runs the blower with the system sealed at the registers and measures how much pressure the system holds. A system that won’t hold pressure has a leak somewhere between the air handler and the registers, and that leak is drawing unconditioned air into the supply stream on every cycle.
Why This Test Matters After Cleaning
Cleaning extracts the debris that was in the ducts. But if the system leaks, the ducts pull in new debris the moment the blower comes back on. Homeowners who clean twice in a year and still have dusty vents are almost always looking at a system that passed cleaning and failed pressure. The negative-pressure test is what catches that, and it’s why we run the test during the job rather than treating cleaning as a standalone pass.
What the Repair Looks Like
- Sealing the plenum: the air handler’s supply and return plenums get re-sealed with mastic or foil tape rated for HVAC service, closing the largest single leak point on most systems.
- Reconnecting and sealing takeoffs: a disconnected flex run gets reconnected to its collar and the joint sealed. A collar that’s loose in the trunk gets re-secured.
- Sealing boots to the finished surface: register boots get sealed to the drywall so air passes through the duct, not around the boot.
- Replacing crushed flex: a run that’s crushed under attic storage or kinked gets replaced with a properly supported run at the correct bend radius.
- Sealing wall-cavity returns: where stud bays serve as return chases, the cavity gets sealed to the same standard as the rest of the system so it stops pulling from the wall.
After the repair, the technician re-runs the pressure test. A system that holds pressure is doing what it was supposed to do: pulling air from the returns, through the filter, across the coil, and out the registers without losing a meaningful volume to the attic or crawlspace along the way. If you’re trying to figure out whether your home needs a cleaning or a repair, our Duct Cleaning Lexington overview is a good starting point for the diagnostic side of that question.
How Lexington’s Soil and Crawlspaces Cause Moisture Problems That Look Like Cleaning Failures
Lexington’s clay-heavy soil holds water instead of draining it, and that moisture has to go somewhere – often into the crawlspace under the house. Crawlspace construction is common in Lexington’s older neighborhoods, and it’s where a lot of “the cleaning didn’t work” complaints actually originate. A duct that runs through a damp crawlspace absorbs moisture into its insulation; the insulation then holds microbial growth that dumps back into the living space every time the system cycles. Cleaning the ducts removes the visible debris but doesn’t stop the crawlspace from putting it back.
How to Tell Moisture Is the Real Problem
- Seasonal pattern: the smell or dust is worse in spring and after heavy rain, better in a dry spell. Cleaning doesn’t produce a weather pattern; moisture does.
- Localized to one side of the house: the duct run over the wettest part of the crawlspace is usually the one that smells. Check whether the odor follows the crawlspace footprint.
- Condensation on duct insulation: if you can see the ducts (attic or crawlspace access) and the insulation feels damp or shows water staining, moisture is in the system.
- Rust on the air handler or drain pan: condensation inside the mechanical space is a reliable signal that humidity control is failing somewhere.
- Musty smell in the lowest level first: if a basement or first floor smells worse than the upper floor, the moisture source is likely below the living space.
The fix isn’t a second cleaning. The durable fix is moisture control – a vapor barrier and drainage correction in the crawlspace, plus replacing any duct insulation that’s already wet. Duct cleaning is part of the recovery once the source is controlled, but cleaning a wet system without fixing the moisture just resets the clock. When our technicians find this pattern in a Lexington home, we recommend addressing the crawlspace first and scheduling the duct work after, because a wet duct is going to be wet again no matter how clean it was on the day of the job.
If the dryer vent runs through the same crawlspace, that’s worth checking at the same time. A dryer vent that terminates in a damp crawlspace pushes humid air directly into the space under the house – which is exactly the wrong place for it – and it’s one of the reasons we treat dryer vent cleaning as a standalone diagnostic, not an add-on. A dryer vent is one of the leading causes of residential fires, and a vent that’s not routing hot, humid air outside is doing double damage.
Filter and Register Mistakes Homeowners Can Fix Themselves
Some post-cleaning problems don’t need a technician at all. Filter MERV rating, filter seating, and register obstructions are three things a homeowner can check in ten minutes, and they resolve a surprising share of airflow and dust complaints. The trick is knowing which checks are safe and useful, and which ones need to be handed to someone with the right tools.
Safe Checks a Homeowner Can Do
- Read the filter’s MERV number. A filter rated higher than the system was designed for chokes airflow and starves every room. If the system worked better with a lower-MERV filter, that’s your answer – not a duct problem. Ask your HVAC contractor what MERV rating the system was designed for before you buy a higher-rated filter.
- Check that the filter is seated. A filter that’s too small for its slot, or one that’s been installed at an angle, lets unfiltered air bypass the media entirely. That bypass air deposits dust on the coil and returns it to the registers.
- Verify the airflow arrow direction. The arrow points toward the air handler, not toward the return grille. A backward filter still filters, but it seats poorly and collapses under load.
- Check the return for obstructions. Furniture, rugs, and closet shelving placed in front of a return grille starve the system. Most systems need a clear path at the return, and a blocked return affects the whole house.
- Confirm registers are open and aimed correctly. A closed supply register in an unused room can raise pressure in the system and force leaks at the weakest seal.
Checks That Need a Technician
Anything that involves opening the air handler, cutting into ductwork, or working in a crawlspace or attic needs a technician. The risk isn’t just the repair going wrong; it’s the safety side. Attic heat, crawlspace air quality, sharp sheet-metal edges, and electrical components inside the air handler are all things a trained professional handles with the right protective equipment. A collapsed flex duct or an improperly sealed plenum is a technician’s job every time, not a homeowner fix.
If your filter checks out and the airflow is still uneven, the next step is a proper duct diagnosis, not another filter swap. Our team can run through the same checklist you just did and pick up where it stops – which is where the equipment matters. Our technicians have up to 8 years of experience, and they use Rotobrush and Nikro contact-cleaning systems that agitate and extract debris rather than relying on suction alone. That matters most on older Lexington ductwork with ridges, joints, and flex transitions that a shop vacuum can’t reach.
When It’s a Cleaning Problem and When It’s a Repair Problem
The single most useful distinction in this whole guide: cleaning removes accumulated debris from the duct surfaces, and repair restores the duct system’s ability to move the right amount of air to the right rooms without losing it along the way. A dirty duct is a cleaning problem. A breached, disconnected, crushed, or undersized duct is a repair problem. Doing one when the other is needed is how homeowners end up cleaning twice and still unhappy.
Tell Them Apart in Under Five Minutes
- Signs it’s a cleaning problem: dust is visible on the duct surfaces and register grilles, the system’s airflow is even across rooms, no musty odor that returns after a week, no condensation on duct insulation, and no weather-linked symptoms.
- Signs it’s a repair problem: dust returns within days of cleaning, one or more rooms are starved for air, the musty odor comes back once the blower runs, a pressure test fails, or the system pulls crawlspace or attic air into the supply stream.
- Signs it’s both: cleaning a system with a breach gives you a clean duct that immediately recontaminates. The job needs cleaning plus repair, and the repair has to come during or before the cleaning, not after.
Once the mechanical side is fixed, the third piece – filtration and air quality – becomes worth discussing. This is where we lean on Honeywell and Aprilaire product lines, because the equipment a homeowner installs after the ducts are healthy determines how long they stay that way. A whole-home filtration recommendation discovered during a cleaning visit is the difference between a duct system that stays clean and one that gets re-contaminated by the same unfiltered air on the next cycle. Not every home needs a filtration upgrade, but the ones with high-MERV needs, allergy concerns, or recent renovations usually do.
Numbered Recovery Plan: What a Real Diagnostic Visit Involves
- Interview the homeowner. Which symptoms, in which rooms, with what timing? A weather pattern points to moisture; a startup pattern points to the coil.
- Inspect the air handler and coil. Coil condition, drain pan, drain line, blower wheel. This is where the musty smell usually lives.
- Pressure-test the duct system. Negative-pressure testing measures how much air the system loses and locates the biggest leaks.
- Inspect the duct runs and plenums. Takeoffs, boots, trunk lines, flex runs, wall-cavity returns. Sealing and reconnect points get flagged here.
- Check filter and register sizing. Confirm the filter is MERV-appropriate and properly seated; confirm register sizing and placement match the room.
- Recommend the specific fix. Cleaning, repair, filter correction, moisture control, or a combination – with a written scope, not a verbal guess.
- Re-test after the work. A pressure test after the repair confirms the system is holding what it should, and before-and-after photos of the ducts confirm the cleaning is real.
If you want to see what the diagnostic visit actually produces, our Lexington page is a good example of how we’ve structured the work around symptom, cause, and fix. Process-first, not price-first: that’s how we’d want a technician to approach our own homes.
Common Mistakes to Avoid
- Cleaning twice when the first cleaning exposed a repair need. A second cleaning on a breached system does nothing except reset the clock. The breach has to be fixed before the cleaning stays fixed. If your symptoms return within a month, ask for a pressure test, not a second cleaning.
- Buying a higher-MERV filter because “higher MERV is better.” A filter rated higher than the system was designed for can choke airflow and starve every room. Check the design rating first. High-MERV filtration belongs on a system sized to handle it, often with a media cabinet rather than a 1-inch slot filter.
- Assuming a crawlspace is dry because the house smells fine above it. Lexington’s clay-heavy soil holds water, and a crawlspace can carry humidity that never reaches your nose until the system pulls it into the supply stream. If the musty smell is worse after rain, check the crawlspace before scheduling another cleaning.
- Accepting a cleaning quote without any duct inspection or pressure testing. A cleaning scheduled without a diagnostic is a cleaning that may not solve your problem. Ask what the technician will inspect and whether pressure testing is part of the visit.
- Ignoring a weak airflow room because it’s “always been that way.” A starved room often means a disconnected flex duct or a closed balancing damper. Cleaning the ducts doesn’t restore airflow that a disconnected run isn’t delivering.
- Skipping the dryer vent because the ducts were the bigger ticket item. A dryer vent that’s overdue for cleaning restricts airflow, overheats the dryer, and pushes hot, humid air into a crawlspace or attic. It’s a standalone safety service, and it’s worth checking at the same appointment.
- Treating one symptom as the diagnosis. A musty smell, dust on the registers, and weak airflow can have three independent causes in the same home. A technician traces each symptom back to its root cause, and the fixes may all be different. Trust the diagnostic, not the symptom count.
When to Call a Professional
Call a professional when a symptom has a mechanical cause you can’t safely reach. That includes a musty odor that returns after a cleaning, dust on the registers within days of a cleaning, one or more rooms with chronically weak airflow, a system that fails a pressure test, condensation on duct insulation, a duct run through a damp crawlspace, or a dryer vent that’s overdue. Call sooner for anything involving the air handler, the coil, or the plenums, and call right away if you smell combustion or gas anywhere in the system – that’s a different emergency, and the gas utility should be your first call, not a duct specialist.
For duct-specific problems in Lexington, Duct Cleaning Lexington offers free estimates and can walk through the diagnostic side with you. Call (877) 331-2339. We answer 24/7. Fast dispatch from 7am to 7pm, Sunday through Friday. Estimates are free, and the price is set per job by the written estimate.
Frequently Asked Questions
The musty smell usually comes from the evaporator coil, the drain pan, or wet insulation in the air handler – not from the ducts. Cleaning removes debris in the ductwork, but if the coil is fouled or the drain pan holds standing water, the system recontaminates every time the blower runs. Ask for the coil and drain pan to be inspected during the next visit. Call (877) 331-2339 for an exact quote – estimates are free.
The cost depends on the size of the home, the number of systems, and whether the job turns up a repair need, so the written estimate is what sets the final price. We price per system, not per vent, and the estimate is free. Call (877) 331-2339 for an exact quote – estimates are free.
Cheaper quotes usually reflect a lighter scope: fewer registers, less access work, no diagnostic, and no repair capability if the job turns up a breach. A cleaning quoted without an inspection may not address what’s actually wrong. The question to ask is what the technician will inspect and whether pressure testing is included. Call (877) 331-2339 for an exact quote – estimates are free.
Ask for before-and-after photos of your own ducts, taken on the day of the job, and ask what the pressure test showed before and after. A cleaning without visual confirmation or a pressure reading is hard to verify. Call (877) 331-2339 for an exact quote – estimates are free.
There’s no single interval that fits every home. The honest answer depends on what’s feeding the system – pets, recent renovations, cigarette smoke, a musty crawlspace, or a long service gap. If your symptoms return quickly after a cleaning, the interval isn’t the problem; a repair need is. Call (877) 331-2339 for an exact quote – estimates are free.
Yes. An unseated filter, a filter with the wrong MERV rating, or a filter that’s been installed backward can all produce dust on the registers and weak airflow that mimics a duct problem. Check the filter’s MERV number and seating before scheduling a cleaning. Call (877) 331-2339 for an exact quote – estimates are free.
The Bottom Line
Most post-cleaning duct complaints in Lexington trace to one of four mechanical causes: a dirty coil, a duct breach, a filter mistake, or moisture intrusion from a crawlspace. Cleaning handles the debris; the fix for any of those four is diagnosis first and then the specific repair. Our advice: if a symptom returns within a month of a cleaning, ask for a pressure test before scheduling another cleaning. And if the job turns up something cleaning can’t fix, the right answer is a company that can repair it under the same visit – which is why we offer cleaning, repair, and dryer vent work together. A healthy duct system isn’t a one-time appointment; it’s a system that holds pressure, filters correctly, and stays dry. When you’re ready to sort out which one you’re dealing with, call (877) 331-2339 for a free estimate.
Written by the team at Duct Cleaning Lexington.
See the difference
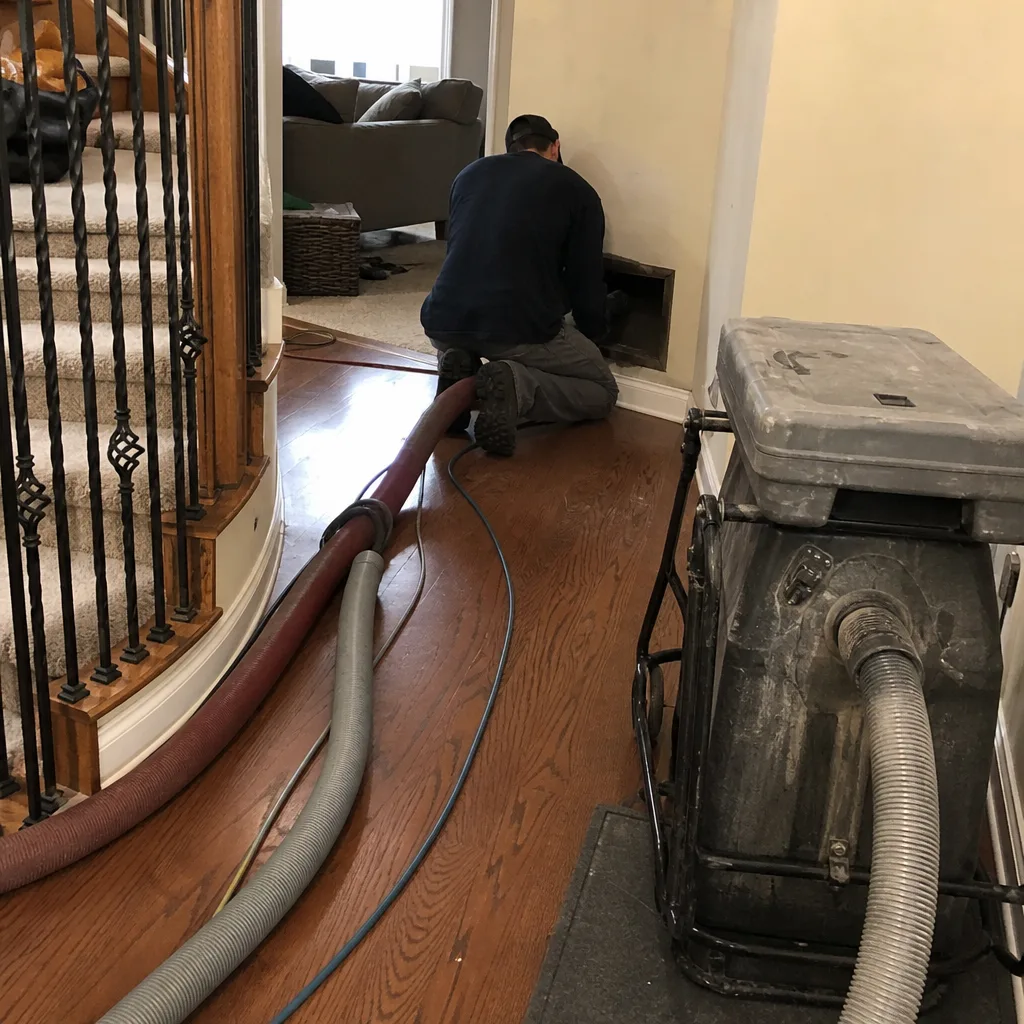 Before
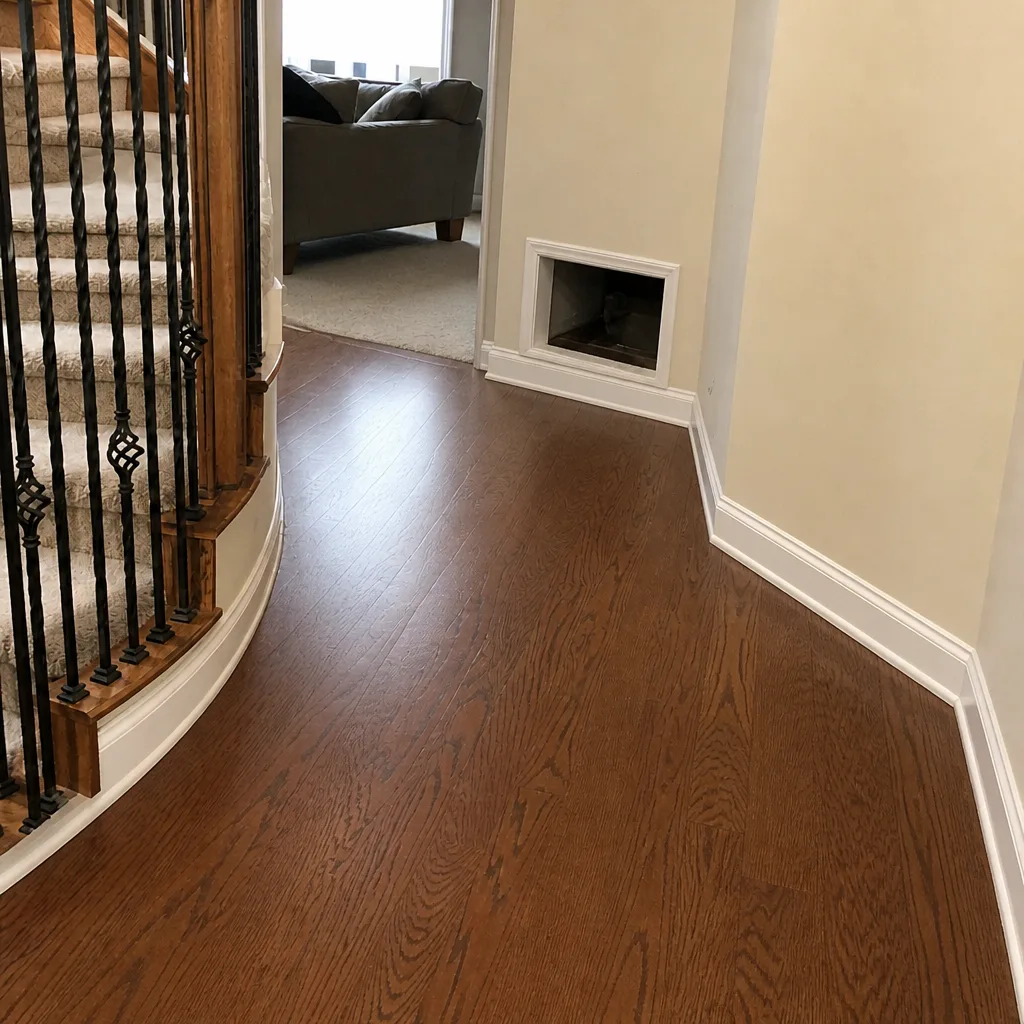 After
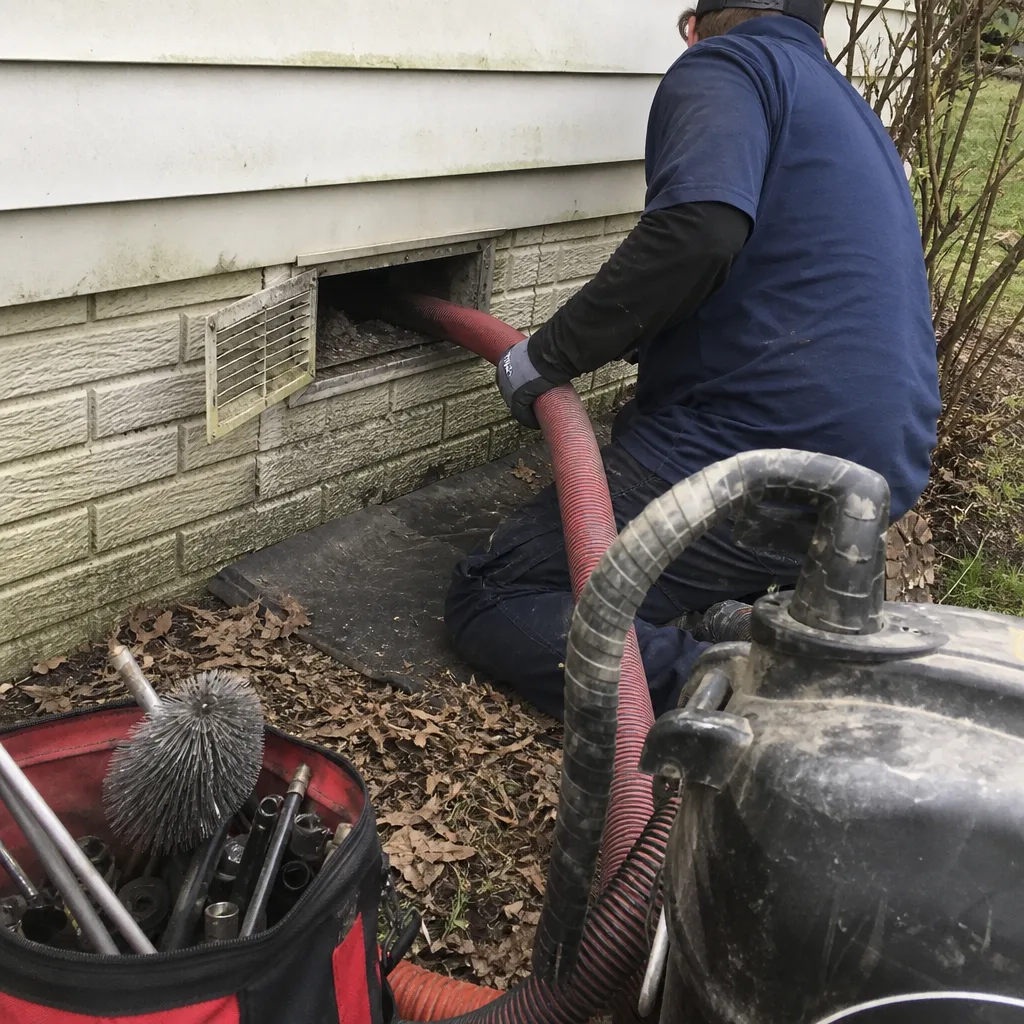 Before
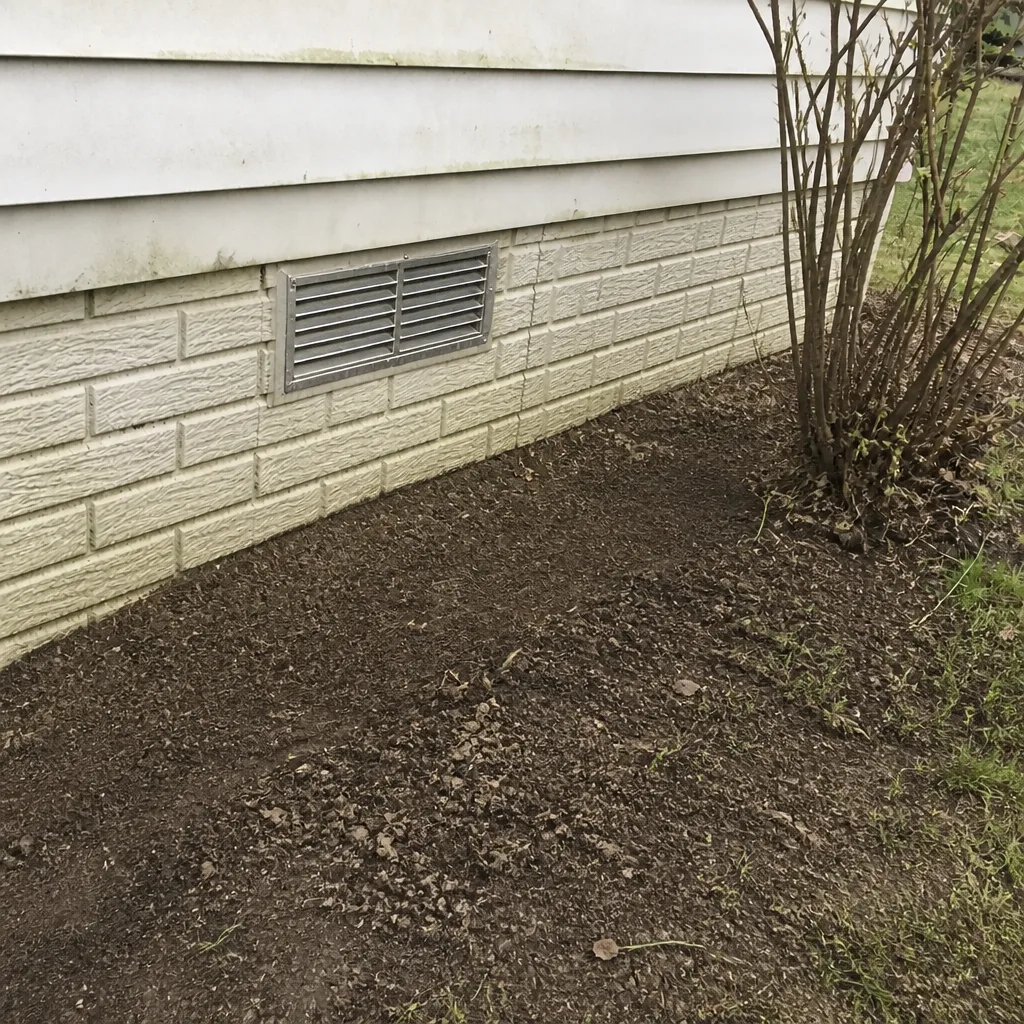 After
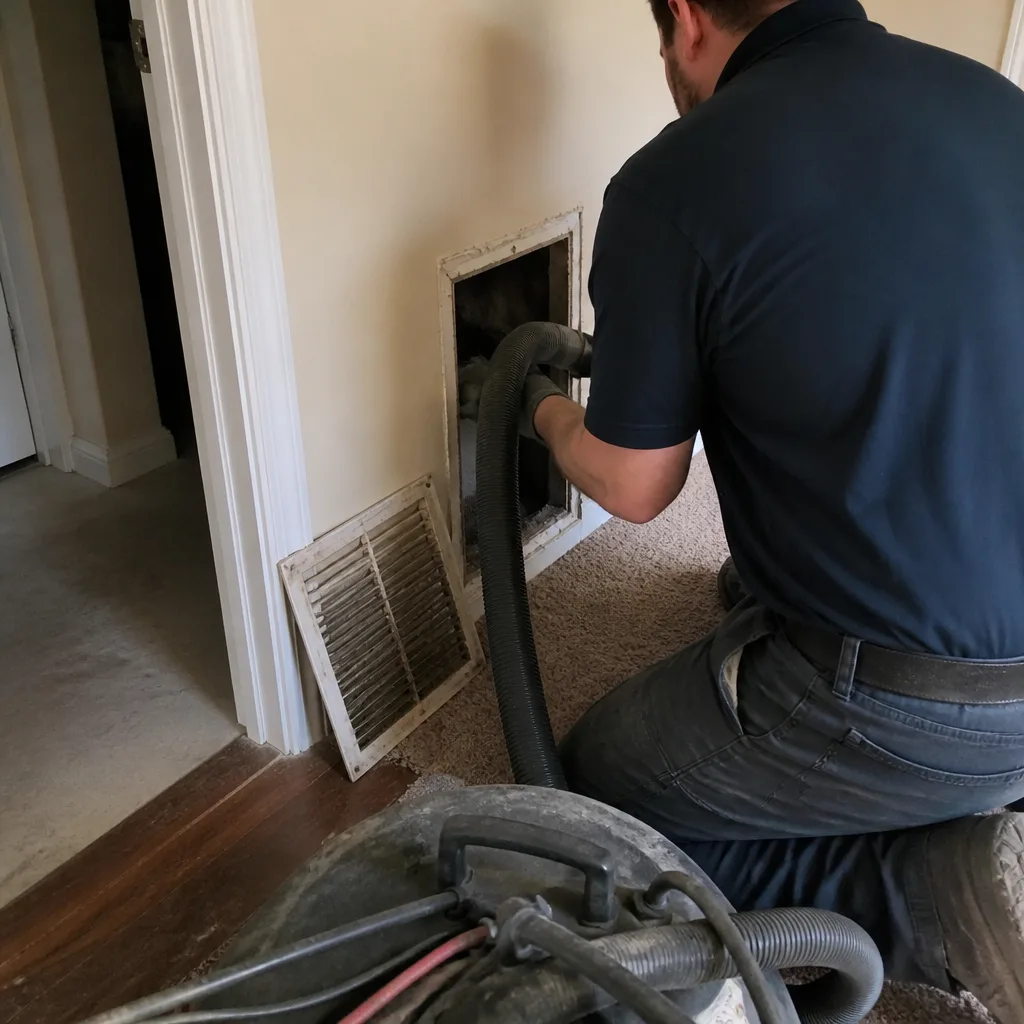 Before
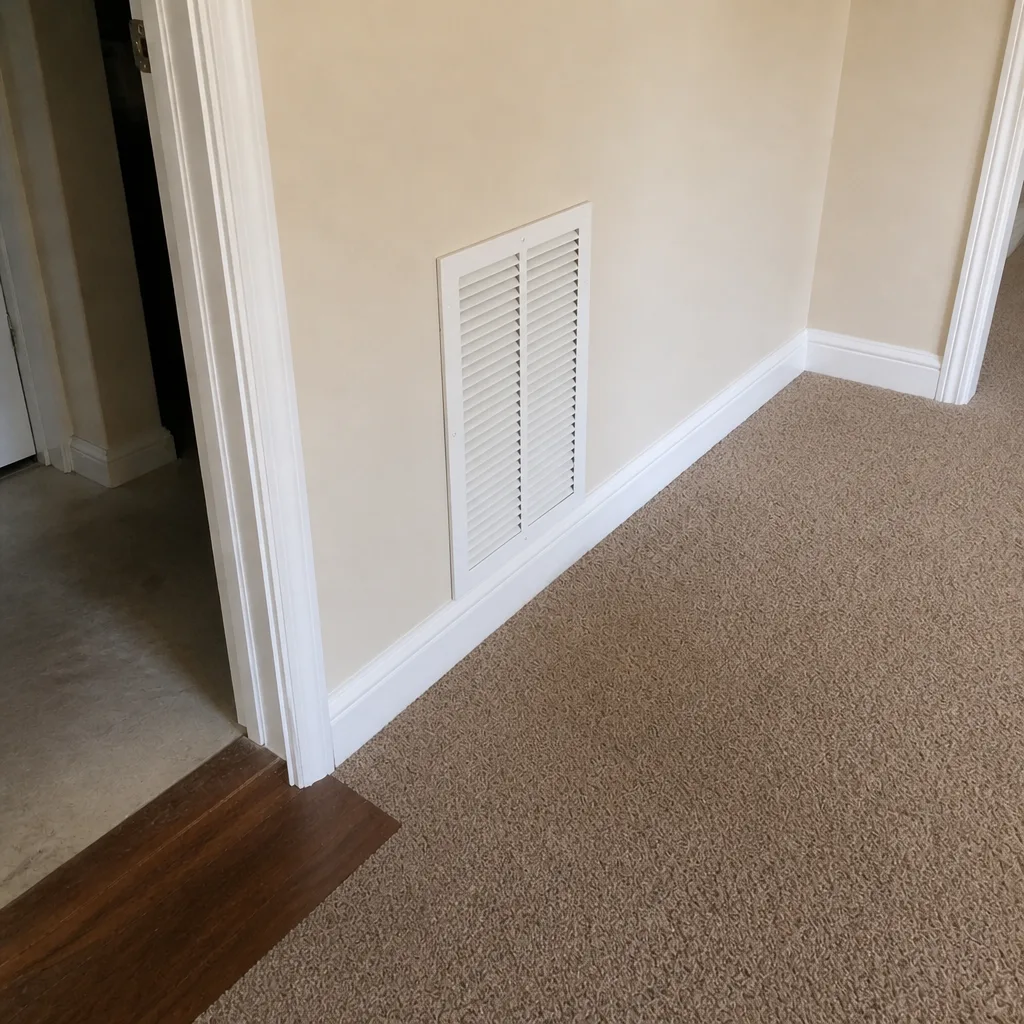 After